Clouds tab
Use the Clouds tab to manage the cloud configurations associated with your domain names. Existing cloud configuration items are listed in the table.
Cloud configurations are used to separate large deployments of screens and customise the digital signage solution for specific customers and use cases. It provides a mechanism to have a different web address to access the admin interface and also a custom version of DS Loader that can auto-assign new screens to a group specified in the cloud settings.
The cloud configuration also controls branding and advanced settings and features. For example, the domain demo.example.com may allow anonymous registrations and assign users to the user group Demo which has a sequence with restrictions imposed by a shared base sequence.
The following options are available:
 | Click to display the Cloud dialog, which enables you to create a new cloud configuration item. |
 | Click to display the search field and two dropdown menus which enable you to control which items are displayed in the list. In the top dropdown menu, you can select a specific group and restrict the list to displaying only cloud configuration items associated with that group. In the bottom dropdown menu, you can select which columns to display in the list. |
 | Click to refresh the list to reflect the latest changes. |
 | Click to download the data on the tab as a CSV file. All data will be downloaded, even if it is currently filtered from view. |
 | Click to edit, delete, copy, or view the history of an existing cloud configuration item. From the pop-up menu: Select Edit to display the Cloud dialog. Alternatively, you can click the cloud configuration label in the list.Select Remove to delete the cloud configuration item. Please note that if the cloud configuration is currently being used by the signed-in user, this option is unavailable. Select Copy to create a copy of the cloud configuration item. You must give it a new unique name. Select Item history to open Reports > User action report. |
Cloud dialog
Use the Cloud dialog to create or edit a cloud configuration.
To display this dialog, on the Clouds tab:
- click the Add Cloud button (
 ),
), - click the label of a cloud configuration item; or
- click the Options button (
 ) beside a cloud configuration item and select Edit.
The following options are available:
General

Label — Enter a label for the cloud configuration. This will enable you to identify it in the list on the Clouds tab.
Name — Enter a name for the cloud configuration. The name must match the domain name or the cloud configuration will not be applied. For example, a cloud configuration with the name signage.example.com will be applied when accessing via http://signage.example.com.
Note: A DNS CNAME record must be created pointing to this server address to support new domain names.
Branding
The welcome logo, colour scheme, and favicon may all be customised and different default player applications, languages, and timezones configured.
Authentication
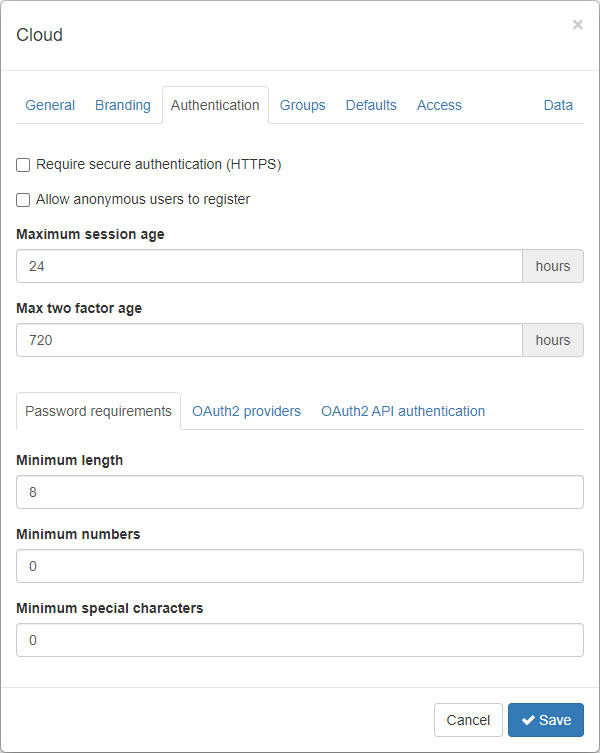
The options on this tab enable you to control sign-ins and session management.
Require secure authentication (HTTPS) — When selected, this option forces using the administration interface or APIs over a secure communications channel. Authentication over an insecure (plain HTTP) channel will be actively blocked.
Allow anonymous users to register — When selected, this option shows an additional button on the sign in page to allow users to create their own user account.
Maximum session age — Enter the maximum session length (in hours) before a user is required to sign in again.
Max two factor age — Enter the maximum length of time (in hours) before additional login credentials are required again.
Password requirements
Password requirements can be configured to add additional security. Please note that an attempt to use any of the 100,000 most common passwords will trigger a warning to discourage the use of such passwords. The platform also includes various velocity checks that restricts more than 5 failed password attempts within a 10 minute window.
OAuth2 Providers
Sign in can delegate authentication to Google, Microsoft, and Yahoo! OAuth2 providers. To enable this, a client ID and client secret must be configured for each.
Groups
Screens starting for the first time and new user registrations are assigned to the selected group. For this to work, the address of the server must match the cloud configuration name.
Defaults
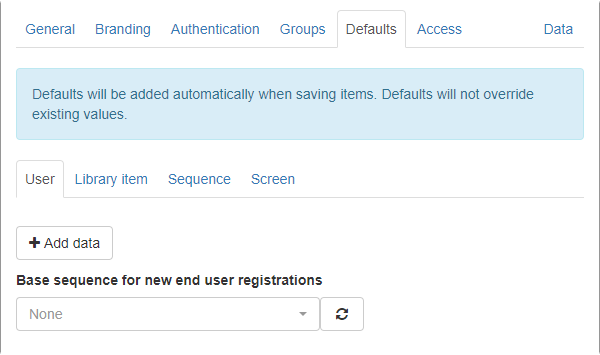
Click the +Add data button to add default data that will be applied to new User, Library, Sequence, or Screen items. These defaults will be added automatically when saving items, but will not override existing values.
Select a sequence to use as a base sequence for new end-user registrations. A base sequence provides default items for display and may impose restrictions on the sequences the user creates. For example, it may prevent the user overriding an item in slot 1 forcing the default to always display.
Access
Grant additional users and user groups to access to the cloud configuration item and set the access level.
Users with access to this item
Enter a valid email address, select the permission level, then click Add.
- Full — The user will have full access to the item.
- Read only — The user can only view the item.
Users with access to these groups have access to this item
Enter a valid group name, select the permission level, then click Add.
- Full — Users with access to the selected group have full access to the item.
- Read only — Users with access to the selected group can view the item but not control it.
- Low vis — Users with access to the selected group will not see the item displayed in the full list of items. This can help speed up performance when there are a lot of items. For more information see Low visibility access controls.
Click the Delete button ( ) to remove a user or group from the cloud configuration item.
Data
Add custom data to the cloud configuration item.
Custom domain names
SignCloud can be linked to custom domain names.
For example, a partner who owns the domain name mycompany.com can create the sub domain, signage.mycompany.com, and use this for accessing the platform. The domain name can be used for signing in to the admin interface and (optionally) used by screens to communicate with the SignCloud platform.
To link a custom domain to the SignCloud platform you must be able to modify the DNS configuration for the domain.
Linking a custom domain name
Contact our Signbox support team to enable this feature.
When correctly configured, the admin interface will be accessible by typing the new address into a web browser. For example: http://signage.mycompany.com.
Encrypted connections
When the domain is first linked, secure connections will be served using a self-signed certificate. This means the browser will display a warning. After 5 minutes, the system should have installed a certificate for the new domain provided by LetsEncrypt.
It is important that there are no DNS CAA records preventing this process.
Device communications
DS Loader and player software uses digitally signed server responses (asymmetric cryptography). This does not require SSL to be enabled for the custom domain and also does not require a real-time, battery backed clock or reliable NTP service. This is for maximum performance and device compatibility.
CNAME at root of domain
We recommend creating a sub domain for the digital signage platform. This is because CNAMEs at the root level can cause problems, especially when using the domain for other purposes.
§3.6.2 of RFC 1034:
If a CNAME RR is present at a node, no other data should be present; this ensures that the data for a canonical name and its aliases cannot be different. This rule also insures that a cached CNAME can be used without checking with an authoritative server for other RR types.
Many DNS services will not let you create a CNAME at the root of the domain – only an A record (IP address). Our platform uses multiple IP addresses for a pool of servers that are selected by health checks and latency. Therefore, a CNAME is required to provide both redundancy and performance.
Sign in with SAML
There are multiple authentication mechanisms that can be used to sign into the admin interface.
- Sign in with email/username and password
- Sign in with Google
- Sign in with Microsoft
- Sign in with SAML
To enable sign in with SAML, you must have a Cloud linked to a custom domain name.
Configure SAML settings in the Cloud security settings in the tab named SAML SSO.
Screenshot showing the settings for SAML SSO:
Linking a SAML Identity provider (IdP) to SignCloud
Identity providers differ in how they are configured. Below are examples to help configure Google Workplaces and Okta. Other Identity providers follow a similar pattern.
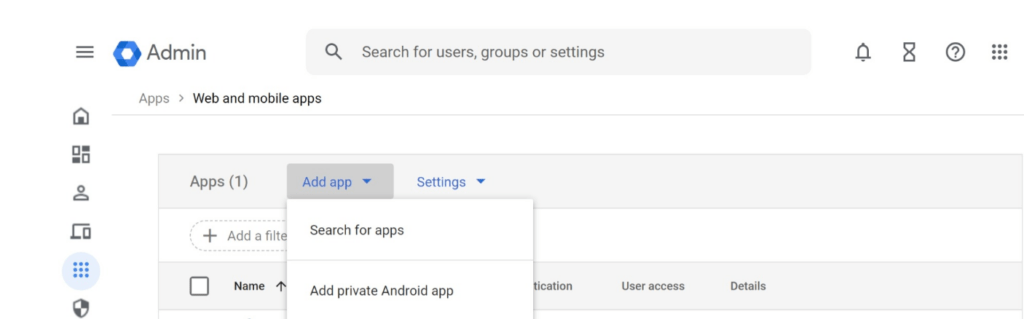
Google Workspace SAML setup
Find Option to Add custom SAML app
Provide App details such as App name and App icon

Copy the SSO URL, Entity ID and Certificate
And paste into SignCloud interface SAML SSO section
Now copy the SAML SP SSO URL and SAML SP Entity ID and paste into Google Workspaces
Make sure the Name ID format is EMAIL. The email address of users is how SignCloud and the IdP link user accounts.
Add the attributes firstName and lastName. They will be automatically read and combined to form the label for new users.
Finally, for Google Workspaces, remember to enable the SAML app for users.
When complete, users can sign in with the new “Sign in with SAML” button:
Okta SAML setup
Sign in to Okta admin and click Add App
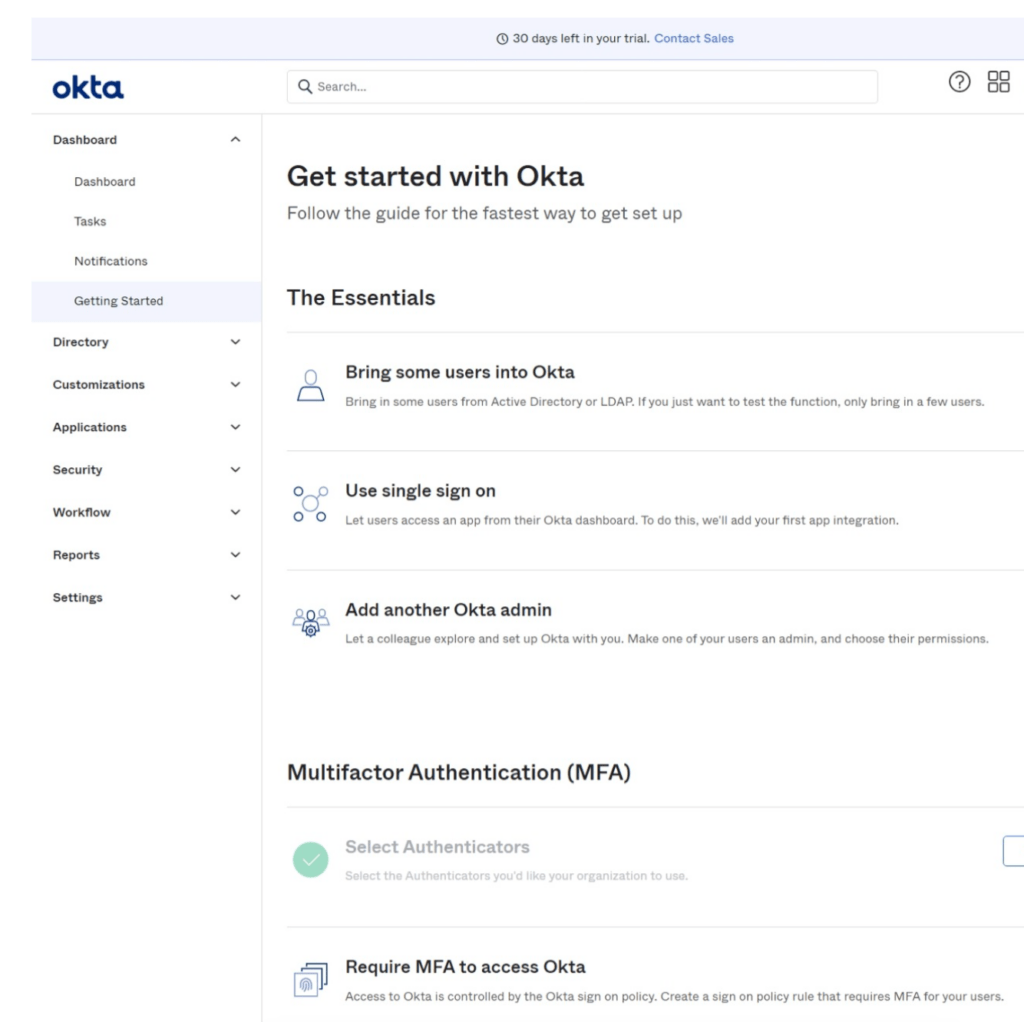
Click create New App
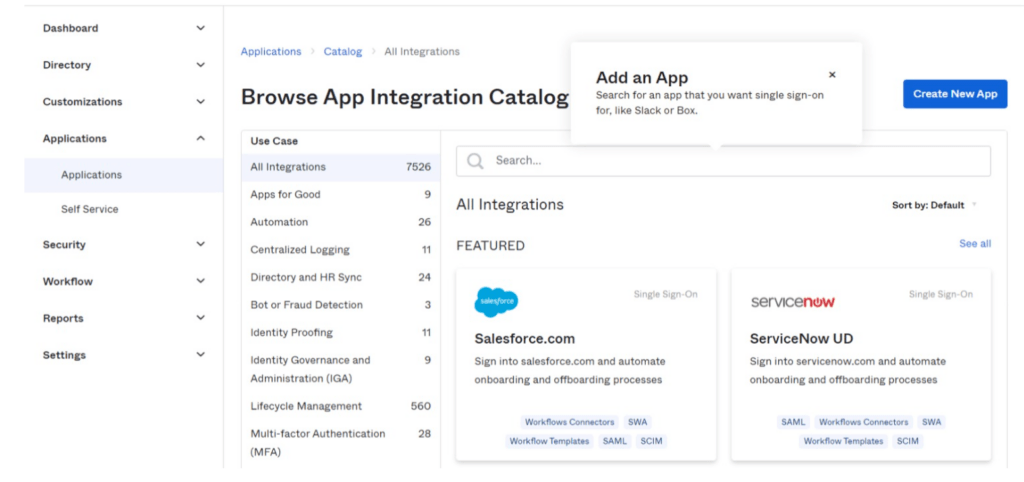
Click SAML 2.0
Provide the App Name and icon (according to your own cloud branding)
Copy the SP SAML information from SignCloud cloud security tab and paste into Okta
Make sure the Name ID format is EmailAddress. The email address of users is how SignCloud and the IdP link user accounts.
You may also add firstName and lastName attributes as shown above. This will initialize the user label for new users when no label has been defined.
Tell Okta this is an internal app
On the next screen, click View SAML setup instructions
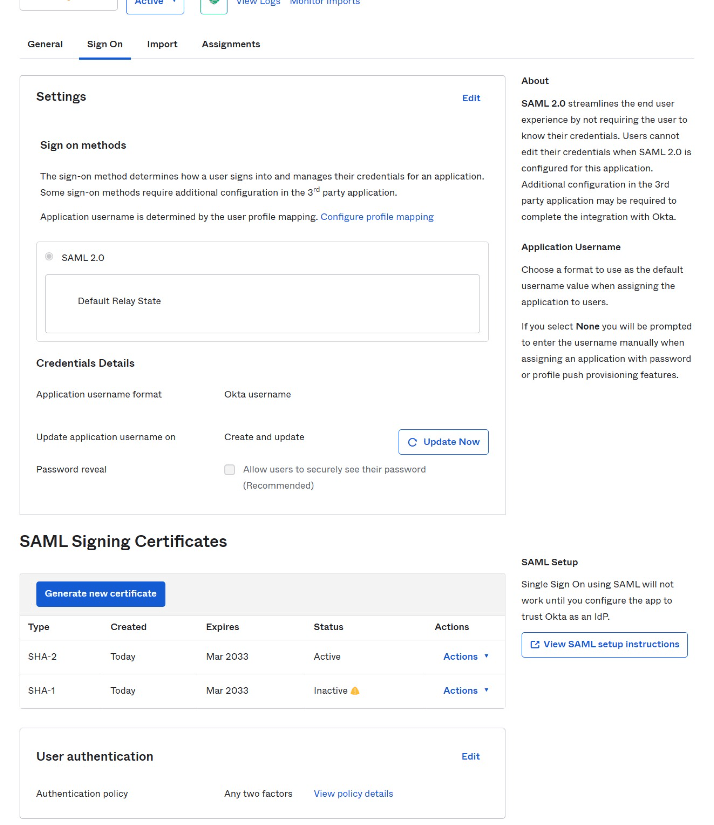
Copy the SSO URL, Entity ID (IP Issuer) and Certificate…
…and paste into SignCloud admin interface cloud security section
Finally, enable the App for users you have configured inside Okta
You can now sign in from Okta or using the Sign in with SAML button.
Implementation information
Users are mapped using the email address. If a user with matching email address already exists inside SignCloud, SAML will sign them in to the existing account.
You must enable the Allow new users to register and sign in option to permit users not already configured in the SignCloud admin interface to sign in. With this option enabled, a new user will be automatically created when they first sign in with SAML. You can configure the name attributes (as in examples above) to make setting up new users a little easier.
An additional security constraint has been added to prevent a malicious IdP allowing any user to sign in as another user. Users will only be signed in to the cloud that is assigned to their user account. This restricts a user to being only able to sign in to a single domain name.
A user can still have a password assigned to them for manual account access. This can be important if the IdP is unavailable, or user wants to sign in to another cloud.
Second factor authentication can not be enabled in addition to SAML. Disable SignCloud 2FA to use SAML.
Remember that by enabling SAML, you are trusting the security of the IdP. All users with a matching cloud also must trust the IdP.