Groups tab
Use the Groups tab to create and manage groups. Existing groups are listed in the table on the tab.
A group is useful for granting one or more users access to many items in a single operation. For example, newly registered users could be automatically added to a group and then a specific user could be given access to the group and act as an administrator for all the users.
Groups can be used for sharing items. For example, multiple library items can be added to a group then access to the group can be given to multiple users to form a shared library. Screens and sequences can also be grouped and managed by multiple users.
Groups can be contained within groups to create complex hierarchical permission structures.
The following options are available:
 | Click to display the Group dialog, which enables you to create a new group. |
 | Click to display the search field and two dropdown menus which enable you to control which items and columns are displayed in the list. In the top dropdown menu, you can select a specific group to restrict the list so that only group items within with that group are displayed. In the bottom dropdown menu, you can select which columns to display in the list. The columns shown will affect items displayed when searching. |
 | Click to refresh the list to reflect the latest changes. |
 | When you have one or more group items selected, click this button to display the Multiple selection dialog. Use this dialog to set permissions, add items to a group, and control access to all selected groups. |
 | Click to download the data on the tab as a CSV file. All data will be downloaded, even if it is currently filtered from view. |
 | Click to edit, delete, or view the summary of an existing group item. From the pop-up menu: Select Edit, to display the Group dialog. Alternatively, you can click the group label in the list. Select Remove to delete the group. Select Group summary to open the Group summary dialog. This dialog displays total counts of items included in the group. For example, the number of screens. |
The Items column (if displayed) provides an overview of the number of each item type contained in the group.
Group dialog
Use the Group dialog to create and edit groups.
To display this dialog, on the Groups tab:
- click the Add group button (
 ),
), - click the label of a group item; or
- click the Options button (
 ) on a group item and select Edit.
The following options are available:
General
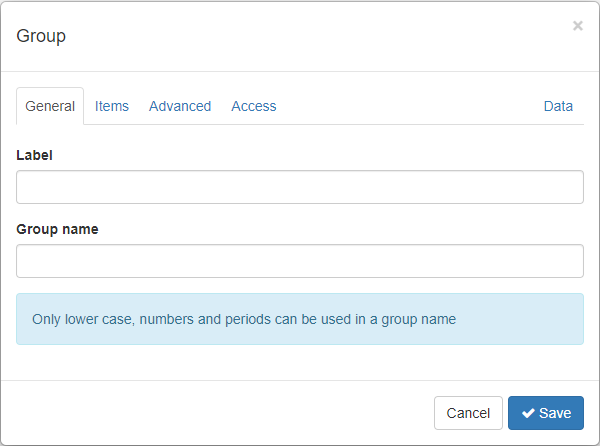
Use this tab to define a label and a name for a group. The group name must be unique and is used when granting group access to objects in the system.
The system will automatically generate a suitable group name while modifying the label. The group name can be customised after changing the label. Please note that no duplicate group names may exist on the entire platform, so you must keep it specific.
Note: Only lowercase letters, numbers, and periods can be used in a group name.
Items
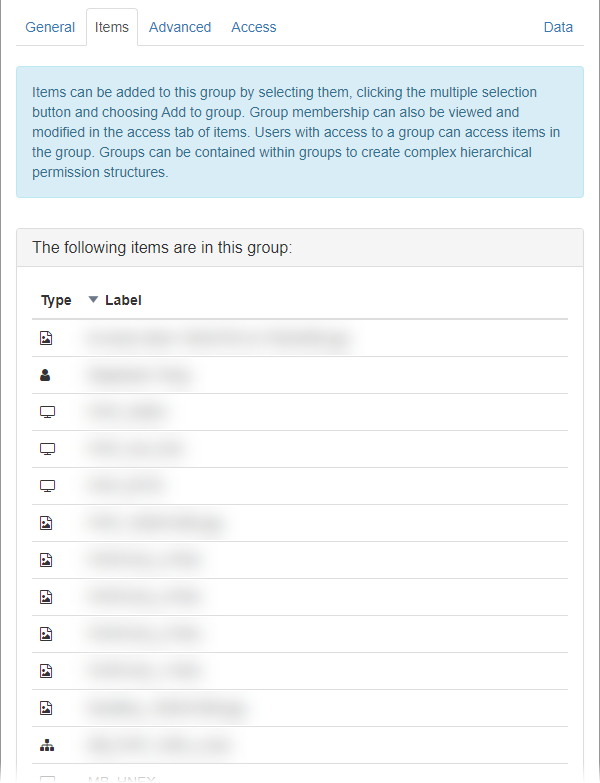
All items that have been added to the group are listed on this tab. Every item in this list is accessible to the users defined on the Access tab.
A group can contain any item type. For each individual item in a group, the item can be modified and the groups containing the item will be listed in the access tab.
Advanced
Select Offline screen notifications to be notified by email if screens in this group are offline for over ten minutes. Notifications will be sent to all users in a group’s Access tab.
Access
Grant additional users and user groups to access to the items in the group and set the access level.
Users with access to this item
Enter a valid email address, select the permission level, then click Add.
- Full — The user will have full access to the item.
- Read only — The user can only view the item.
Users with access to these groups have access to this item
Enter a valid group name, select the permission level, then click Add.
- Full — Users with access to the selected group have full access to the item.
- Read only — Users with access to the selected group can view the item but not control it.
- Low vis — Users with access to the selected group will not see the item displayed in the full list of items. This can help speed up performance when there are a lot of items. For more information see Low visibility access controls.
Click the Delete button ( ) to remove a user or group from the group item.
Data
Add custom data to the group item. The data may be used in condition evaluation or to store any additional information required.
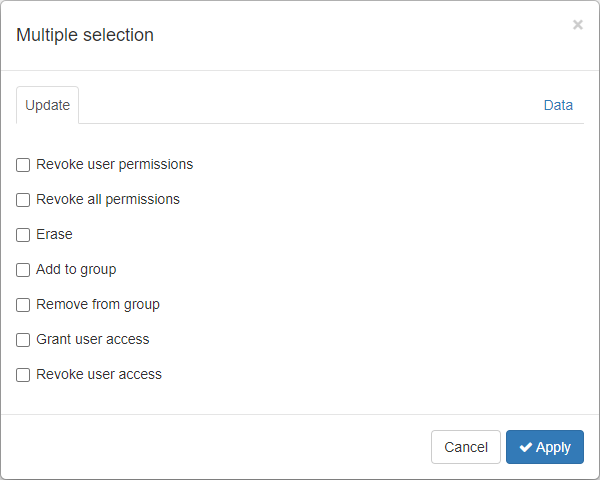
Multiple selection dialog
Use the Multiple selection dialog to update multiple items quickly.
To display this dialog, select one or more items on the Groups, Users, Library, Sequences, or Screens tabs and click the Multiple selection button ( ).
).
The following options are available:
Change features — Available only when this dialog is opened from the Users tab. Select to enable or disable features for the selected users.
Revoke user permissions — Revoke current user permissions from selected items, but keep the items in the system. Items will remain accessible if they are a member of a group you also have access to.
Revoke all permissions — Revoke all user and group permissions from selected items. New user or group permissions must be granted using the other dialog options or the selected items will be inaccessible.
Erase — Remove the selected items from the system. It is not be possible to recover erased items.
Add to group — Select a group from the dropdown list in order to add the selected items to it. You can also set the access level.
- Full — Users with access to the selected group have full access to the item.
- Read only — Users with access to the selected group can view the item but not control it.
- Low vis — Users with access to the selected group will not see the item displayed in the full list of items. This can help speed up performance when there are a lot of items. For more information see Low visibility access controls.
Remove from group — Remove the selected items from the group chosen from the dropdown list.
Grant user access — Select a user from the dropdown list to grant them access to the selected items. You can also set their access level.
- Full — The user will have full access to the item.
- Read only — The user can only view the item.
Revoke user access — Select a user from the dropdown list to revoke their access from the selected items.
When opened from the Screens tab, there are the following additional options on the dialog:
MAC addresses — The MAC addresses of the selected screens are listed here.
Change sequence — Select the sequence to assign to selected screens.
Change custom status — Enter a custom status for the selected screens.
Change player software — Select the player software used to display the sequence on the screen.
Send command — Select a command to send to DS Loader to perform maintenance on the device and software. For more information about the available commands, see the Screen dialog article.
Reset location — Select to reset the geographic location of the selected screens.